Retro Waves Poster Design in Pixelmator
In this tutorial I want to show you how to create simple, but at the same time very impressive tutorial. I called it ”Retro Waves”, because it really looks like some calorific waves.
Step 1
Open Pixelmator file and create a new image, I’m using 1110×470 pixels for the size. Select Paint Bucket Tool and fill the ”Background Layer” with beige color.

Step 2
With Pen Tool create a shape like in the image below.

Step 3
Duplicate ”Shape” layer about eight times and then add them in one line. Select all these layers, after that go to Layer > Merge Layers. Then rename it in ”Wave”.

Step 4
With Paint Bucket Tool fill ”Wave” layer with a little bit darker color than the font is. Using Move Tool put ”Wave” layer like in the image below.

Step 5
Duplicate ”Wave” layer and fill it with dark beige color.

Step 6
Using the technology that I showed in earlier steps you can create more ”Waves”.

Step 7
Add a Texture, change layer’s Blending to Multiply and reduce the Opacity to 50%.

Step 8
Add a Texture 2, change layer’s Blending to Overlay and reduce the Opacity to 42%.

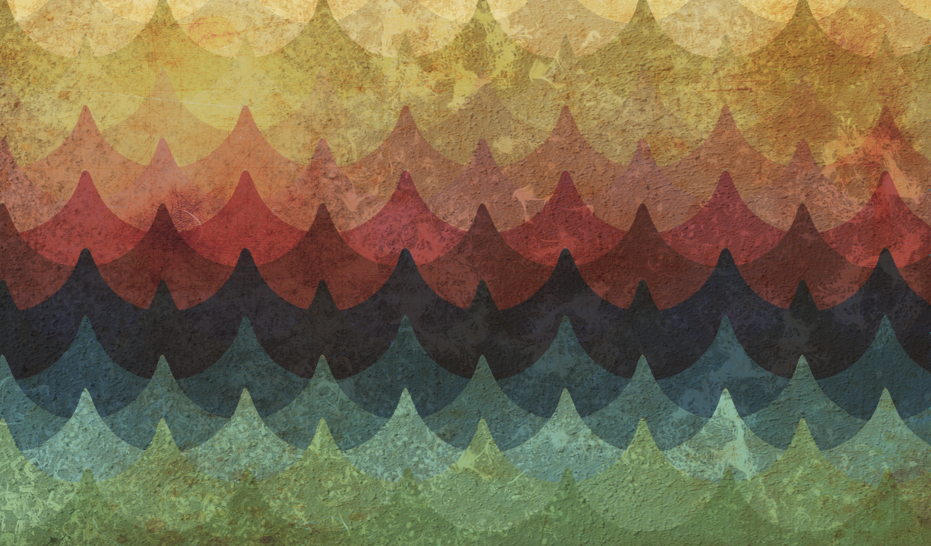
Final Result:
Very simple tutorial and great result. !
Thanks.
Thank you for this, very useful.
I always have a great deal of fun doing your tutorials, thanks! 🙂
http://www.flickr.com/photos/wp-crickett/8378039421/in/photostream/lightbox/