Retro Folded Typography in Pixelmator
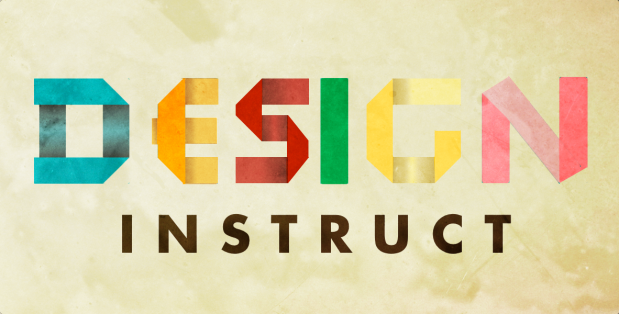
In this tutorial I’ll show you how to make retro folded typography in Pixelmator. With this example you can make it very easy. It’s very fun creating these letters and after that you can make your own words.
Step 1
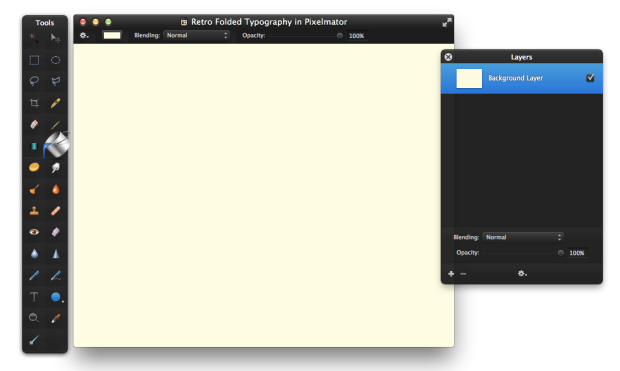
Open Pixelmator and create a new document. For size I’m using 450×357 px. Now fill background layer with light yellow color.
Step 2
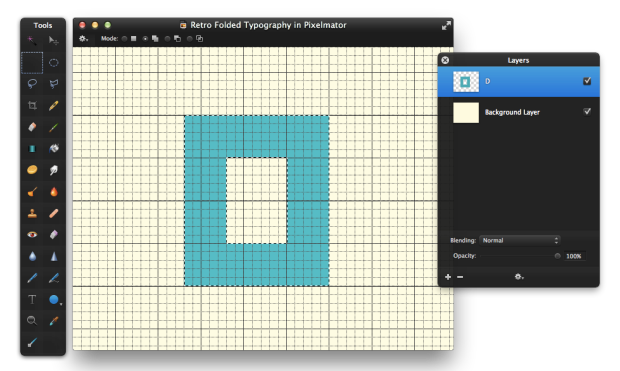
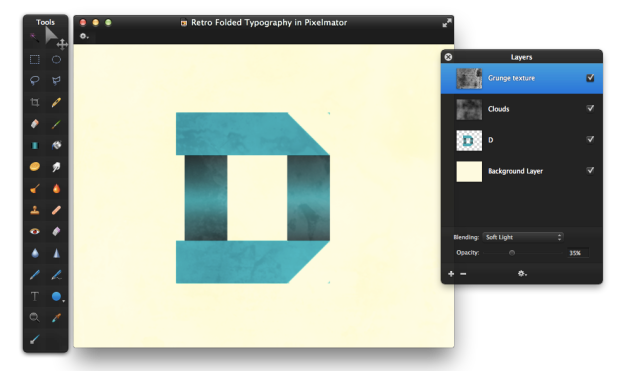
After that go to View > Show Grid. Add a new layer, rename it to “D” and then make a rectangle with Rectangular Marque Tool like in picture below. Now fill it with blue color.
Step 3
Then go to Edit > Deselect All. After that with Polygonal Lasso Tool mark the right side corners and then delete them.
Step 4
Now add with Rectangular Marque Tool corners in the left side and fill it with blue color.
Step 6
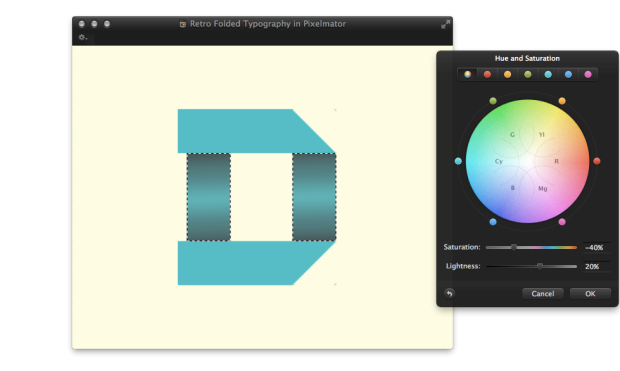
With Rectangular Marque Tool mark D letter sides and with Gradient Tool fill it from top to bottom with colors like in picture below.
Step 7
Now go to Hue and Saturation and use -40% for Saturation and 20% for Lightness.
Step 8
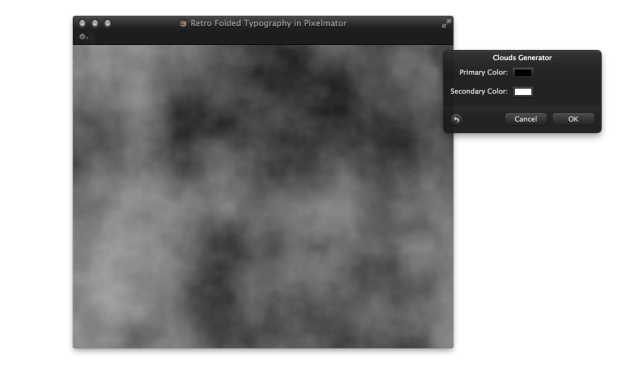
Now add a new empty layer, rename it to “Clouds” and go to Filter > Generator > Clouds. There choose black and white colors.
After that change Blending to Overlay and Opacity to 50%.





Wow, I’ve to try this out. Thanks for sharing.
Text tutorials, I always find great. This is great.
Thanks for a great tutorial! But I find something missing in step 7 where you use Hue & Saturation on the gradient applied on the back folded pieces. When I follow your settings the blue color dies… Do you use another kind of blending mode?
Thanks for sharing your workflow!
How can i meet all letters in only one table?
Hello Fugo, show us screenshot of your problem and we will try to solve it.
what kind of font did you use for instruct?
There I’m using Futura Bold, just smaller size.